Radon Mitigation Before & After Photos
Click on a photo to enlarge.
Breathing Easy: A Seamless Radon Mitigation Upgrade in a Classic Colonial Home in New Canaan, CT


Before:
In a quaint 1994 colonial-style home, nestled within its 1900 square feet basement, an invisible intruder was lurking at a radon level of 4.5. This space, divided between finished and unfinished areas, served dual purposes — one for utility and storage, and the other for fitness routines. Despite the cozy domesticity, the radon readings indicated a potential risk to the inhabitants. Two pipes, integral to the radon mitigation system, ran through the basement. One was situated in the unfinished section, and the other close to the sweat and steel of the workout area. The question of seamlessly integrating the system within the home's structure posed a challenge, with a preference for concealing the pipes in the open rafters above the drop ceiling. The aim was to direct these pipes to the exterior, specifically in a discreet corner by the air conditioning units. Adding to the complexity was the necessity of a moisture guard to combat any potential dampness that could compromise the system’s integrity.
After:
The transformation of the colonial home's radon mitigation system marks a significant improvement in the dwelling's safety and aesthetic. The once visible radon pipes have now been ingeniously rerouted to blend with the home's interior — tucked away in the open rafters, invisible to the eye yet functional. The two-pipe system now operates inconspicuously: one pipe emerges from the unfinished basement, traversing the space without detracting from its utility, while the other pipe near the workout area no longer intrudes upon the homeowner's fitness sanctuary. Both pipes discreetly exit the home, ensuring the radon levels are effectively mitigated without compromising the colonial charm. An essential addition to this upgraded system is the moisture guard, diligently installed to shield the home from the perils of humidity. Residents can now breathe easier, enjoying both their workouts and their storage space, assured in the knowledge that their radon levels are under control, and the aesthetic integrity of their basement is preserved.
Ensuring safety in a 1956 ranch-style home in Stamford, CT, with a radon mitigation installation


Before: The 1956 ranch-style home in Stamford, CT, exhibited a concerning average radon level of 5.2 across three tests, with a mostly finished basement but no sump pumps installed.
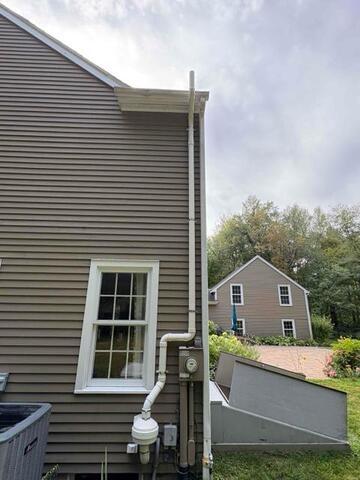
After: A radon mitigation system was installed near the AC unit with an exterior cover, effectively reducing radon levels within the home, while the homeowner completed the transaction by leaving a check for pickup.
Sealed, Secured, Safe: Ridgefield Basement Upgrade
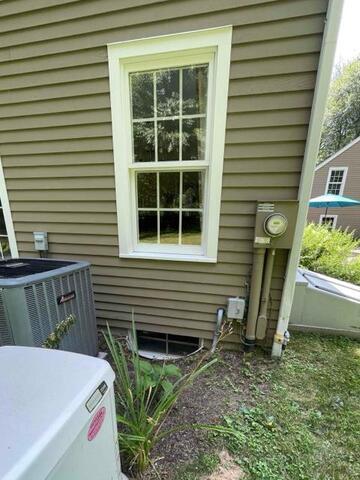
Before: An unfinished basement with visible cracks, unsealed sump pump, and no radon mitigation system.
After: Radon system installed with full crack sealing and prep for plumber-sealed sump pump. The home now meets safety standards and is ready for long-term occupancy.
We took the extra time to ensure every crack was treated, even in an expansive space like this.
Revamping Radon Safety in Shrub Oak: Before and After


View the transformative updates in our radon mitigation project for a 1948 ranch home in Shrub Oak. Starting with a system that was improperly installed and utilized a bathroom vent fan, we upgraded to a professional radon fan and installed a new PVC pipe through the roof, replacing an old dryer vent line. The after photos showcase a correctly configured radon mitigation system that significantly improves the air quality and safety of the home.
Radon Transformation in Mamaroneck: Before and After


Explore the before and after effects of our radon mitigation efforts in a 1917 Mamaroneck home. Initially faced with a radon level of 7.5, we strategically placed three pipes to optimize radon reduction across the multiple foundation areas, including two crawl spaces. The after photos illustrate the system’s discreet yet effective integration, showing a significant improvement in air quality and ensuring a safer living environment.
