Radon Mitigation Before & After Photos
Click on a photo to enlarge.
Revamping Radon Safety in Shrub Oak: Before and After


View the transformative updates in our radon mitigation project for a 1948 ranch home in Shrub Oak. Starting with a system that was improperly installed and utilized a bathroom vent fan, we upgraded to a professional radon fan and installed a new PVC pipe through the roof, replacing an old dryer vent line. The after photos showcase a correctly configured radon mitigation system that significantly improves the air quality and safety of the home.
Radon Transformation in Mamaroneck: Before and After


Explore the before and after effects of our radon mitigation efforts in a 1917 Mamaroneck home. Initially faced with a radon level of 7.5, we strategically placed three pipes to optimize radon reduction across the multiple foundation areas, including two crawl spaces. The after photos illustrate the system’s discreet yet effective integration, showing a significant improvement in air quality and ensuring a safer living environment.
Three-Point Radon Mitigation System Planned for Historic Greenwich Home
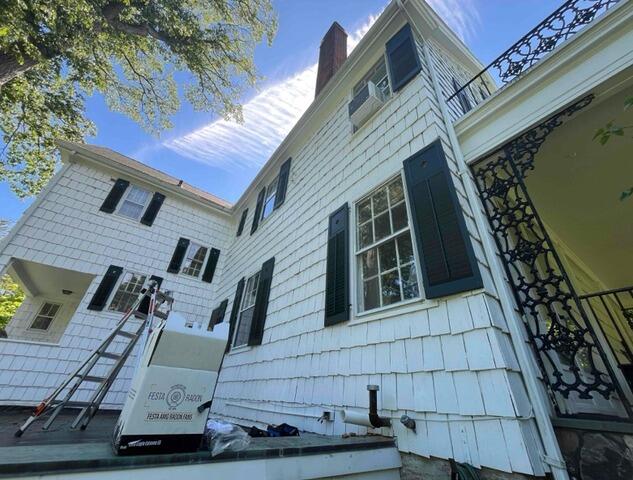
Before
The home tested between 6.5 and 7.6 pCi/L and did not have an active radon mitigation system in place.
After (Planned Work)
A three-point radon mitigation system will be installed to improve sub-slab communication and reduce radon levels throughout the home.
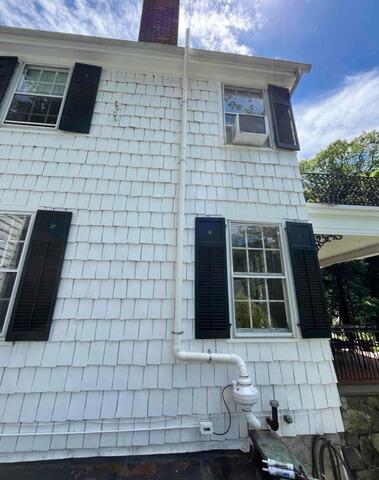
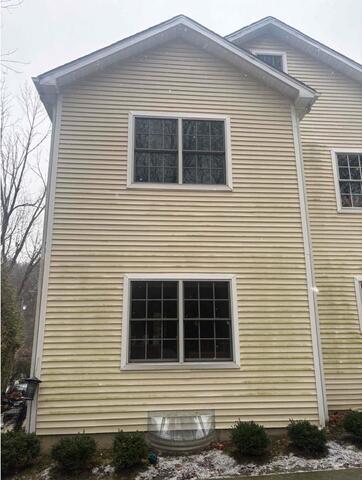
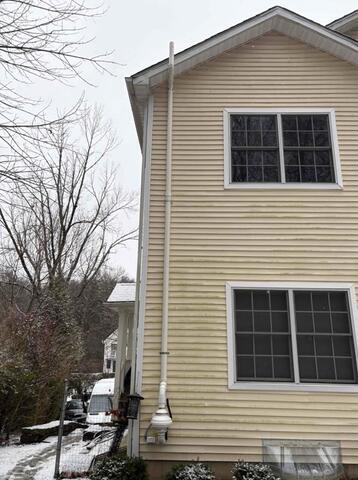
One-Point Radon Mitigation System Planned for Historic Greenwich Colonial Home
Before
The home tested at approximately 8.0 pCi/L and did not have an active radon mitigation system in place.
After (Planned Work)
A one-point radon mitigation system will be installed with the extraction point near the oil tank and vent piping routed along the street-side corner of the home to reduce radon levels throughout the property.
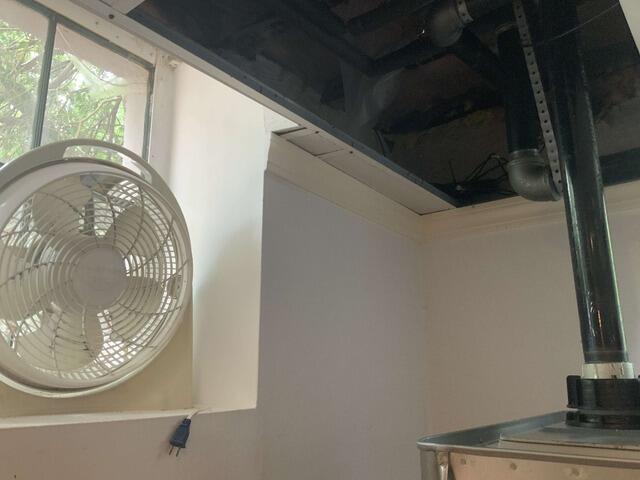
Radon Mitigation System Installed in Cos Cob Basement
Before
The home had a radon level of 5.1 pCi/L with no mitigation system in place. The mechanical room was not suitable for installation due to limited space and the presence of a gas meter.
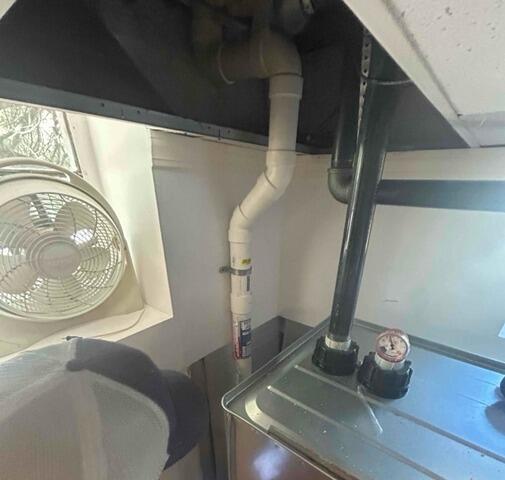
After
A single-pipe radon mitigation system was installed through a closet on the right side of the basement, working around the sealed sump pump and avoiding crowded areas.
