Apex Radon Solutions Before & After Photos
Click on a photo to enlarge.
Three-Point Radon Mitigation System Planned for Historic Greenwich Home
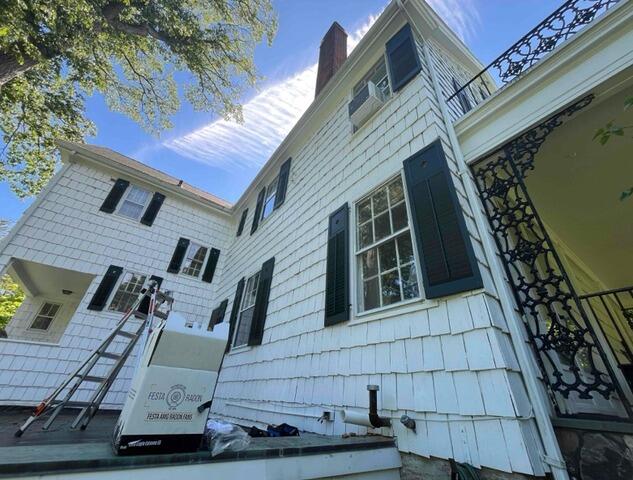
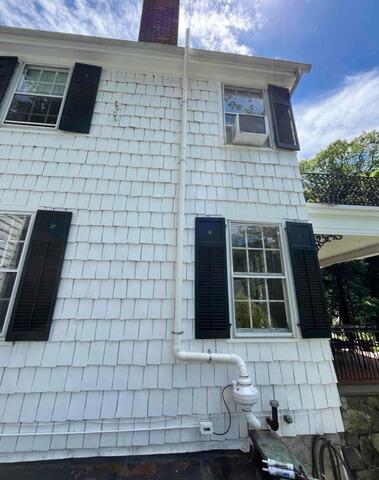
Before
The home tested between 6.5 and 7.6 pCi/L and did not have an active radon mitigation system in place.
After (Planned Work)
A three-point radon mitigation system will be installed to improve sub-slab communication and reduce radon levels throughout the home.
One-Point Radon Mitigation System Planned for Historic Greenwich Colonial Home
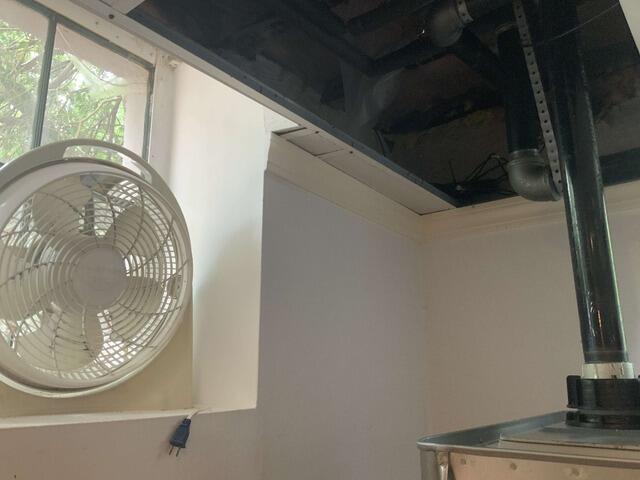
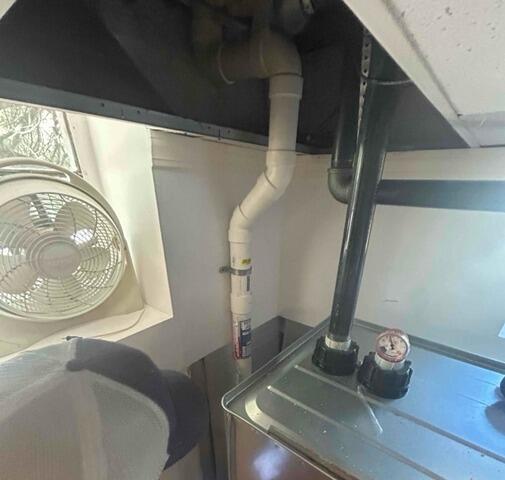
Before
The home tested at approximately 8.0 pCi/L and did not have an active radon mitigation system in place.
After (Planned Work)
A one-point radon mitigation system will be installed with the extraction point near the oil tank and vent piping routed along the street-side corner of the home to reduce radon levels throughout the property.
Radon Mitigation System Installed in Cos Cob Basement
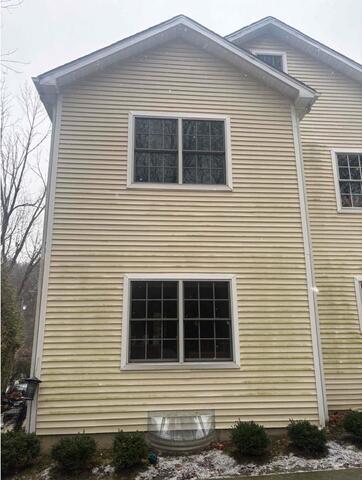
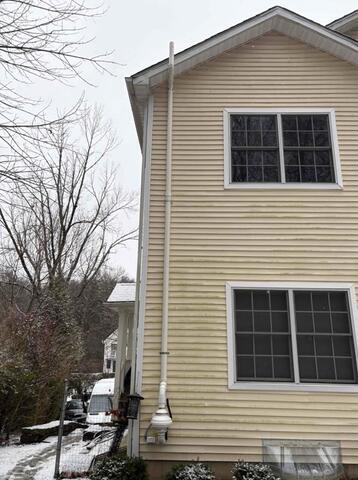
Before
The home had a radon level of 5.1 pCi/L with no mitigation system in place. The mechanical room was not suitable for installation due to limited space and the presence of a gas meter.
After
A single-pipe radon mitigation system was installed through a closet on the right side of the basement, working around the sealed sump pump and avoiding crowded areas.
Transforming Safety Standards: Riverside Radon Mitigation


Explore the transformative before and after scenarios of our radon mitigation project in a recently built Riverside home. Without existing radon mitigation components like a passive system or sump pump, and with an all-finished basement, our task was to install a system that cuts through bedroom drywall and ceiling. The photos show how the system seamlessly blends with the home’s exterior, ensuring safety without compromising aesthetics.
Before & After: Proactive Safety in South Salem
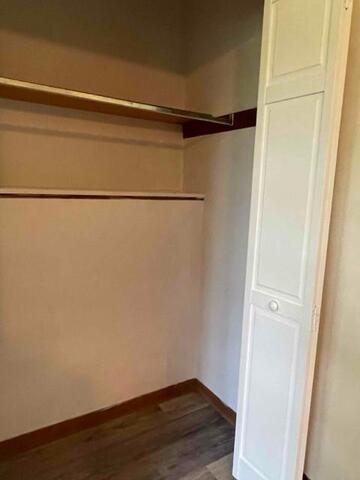
Before:
New homeowners with young children moving into a 1971 home, eager to take precautions despite the radon reading being only 1.5. No radon system was present, and the space was untouched since move-in.
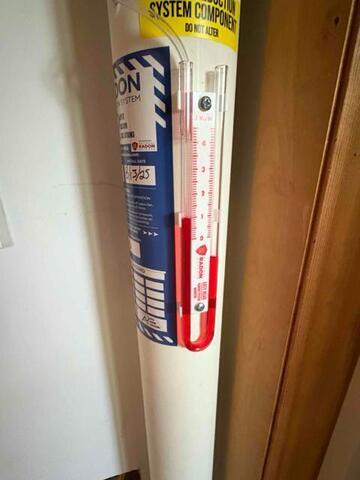
After:
A clean, discreet one-pipe radon mitigation system was installed. We utilized an outlet two feet behind the install site by cutting through drywall and pulling wiring internally — keeping wires hidden and the install tidy.
