Radon Mitigation Before & After Photos
Click on a photo to enlarge.
Crack Sealing to Reduce Radon Levels in Waterbury, CT
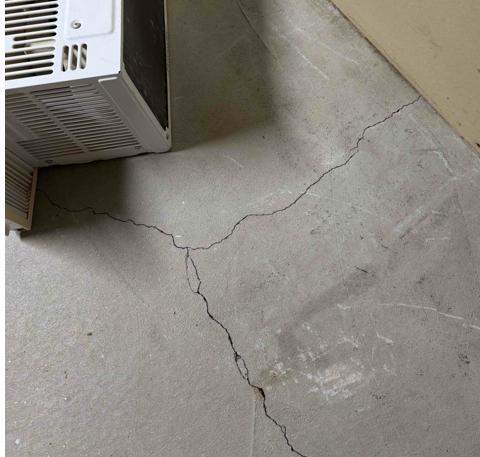
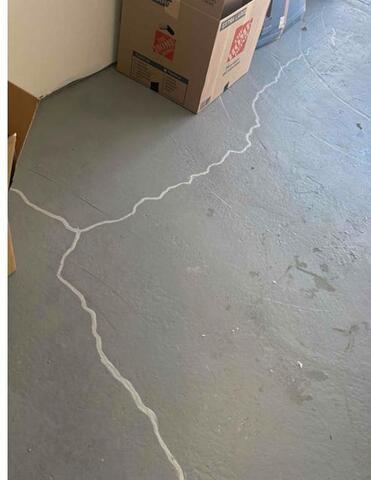
Radon comes from the soil and enters through cracks in your home. Your home pulls the air from under the foundation into your home. If the radon levels are high and the radon is trapped in your home it is not safe or healthy for your family. By sealing the cracks we are deterring the radon from entering the home and allowing the radon system to work properly.
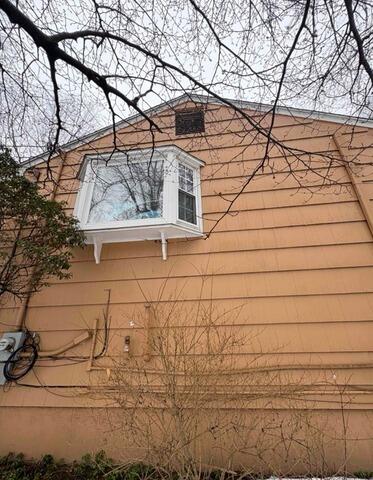
Radon Mitigation System Installed in Fieldstone Home in Waterbury (Exterior)
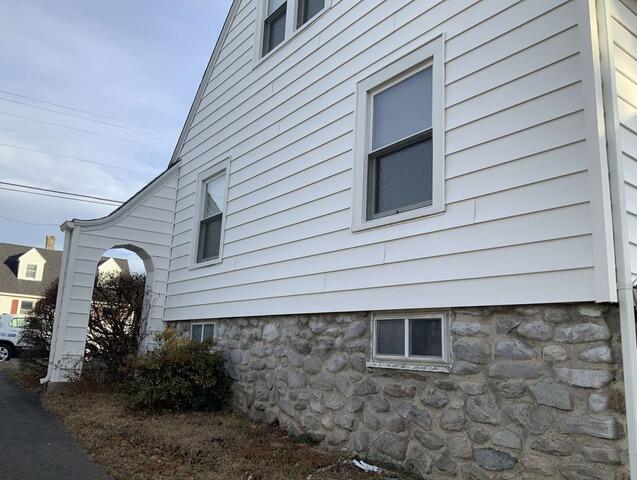
Before
The exterior of the home had no radon mitigation system in place, with no visible piping along the outside of the house.
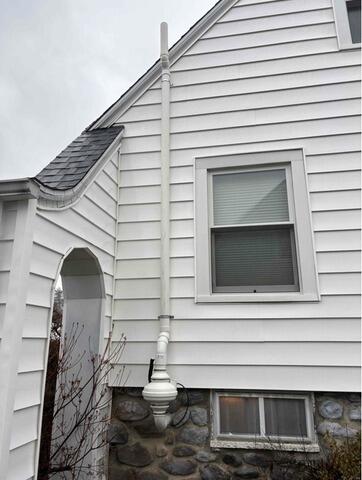
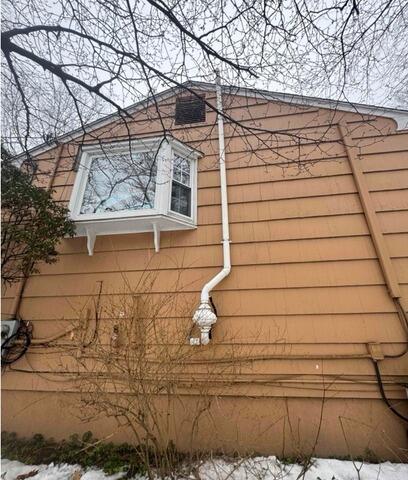
After
A radon mitigation pipe was installed along the exterior of the home, routed from the basement/garage area and vented above the roofline for proper airflow.
Radon Mitigation System Installed in Fieldstone Home in Waterbury (Interior)
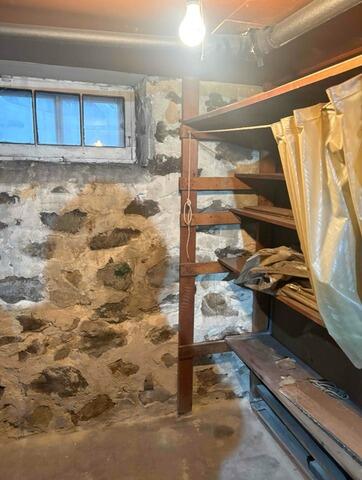
Before
The basement/garage area had no radon mitigation system in place. The space included a fieldstone foundation and slab with no existing suction point.
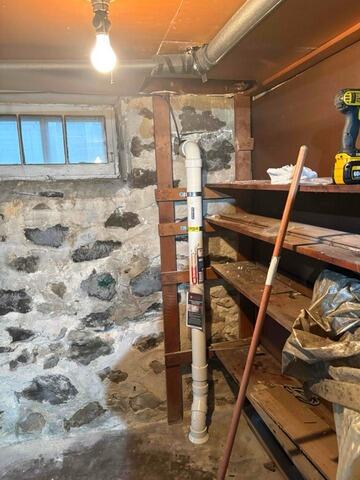
After
A radon mitigation pipe was installed in the front right corner of the basement/garage, positioned to stay as discreet as possible while creating an effective suction point.
Two-Pipe Radon Mitigation System Planned for Milford Home (Crawl Space)


Before
Crawl space area with CleanSpace covering prior to installation of the radon mitigation extraction system
After
Crawl space extraction point installed to improve airflow beneath the encapsulated foundation area
Radon Mitigation and Crawl Space Encapsulation Planned for Orange Home
Before
The home had elevated radon levels above 5.0 pCi/L along with a small exposed earth area near the well tank contributing to potential radon entry.
After (Planned Work)
A one-pipe radon mitigation system and CleanSpace encapsulation are planned to improve airflow beneath the home and isolate exposed earth areas near the well tank.
